
session 19 Git Repository


🔁 Steps to Create a Branch in Databricks, Pull from Git, and Merge into a Collaborative Branch

  1. Create a New Branch in Databricks:

    • Go to the Repos tab in your workspace.

    • Navigate to the Git-linked repo.

    • Click the Git icon (or three dots ⋮) and choose "Create Branch."

    • Give your branch a name (e.g., feature-xyz) and confirm.

  2. Pull the Latest Changes from Git:

    • With your new branch selected, click the Git icon again.

    • Select “Pull” to bring the latest updates from the remote repository into your local Databricks environment.

  3. Make Changes & Commit:

    • Edit notebooks or files as needed in your branch.

    • Use the "Commit & Push" option to push changes to the remote repo.

  4. Merge into the Collaborative Branch:

    • Switch to the collaborative branch (e.g., dev or main) in Git or from the Databricks UI.

    • Click "Pull & Merge".

    • Choose the branch you want to merge into the collaborative branch.

    • Review the changes and confirm the merge.


✅ Best Practices:

  • Always pull the latest changes before merging to avoid conflicts.

  • Communicate with teammates before merging into a shared branch.

  • If working with GitHub/GitLab, you can also create a Pull Request (PR) for code review before merging.


it's showing all of the changes (version)that applied to the notebook.


we can able to restore the version of click the restore the version 


Git is a distributed version control system that allows developers to track and manage changes to source code. It facilitates collaboration by enabling multiple team members to work on the same project simultaneously, merge changes, and maintain a history of all modifications."

Github --> Microsoft 

Gitlab --> GitLab is a web-based DevOps platform that provides a Git repository manager with features like version control, CI/CD (Continuous Integration/Continuous Deployment), issue tracking, code review, and more — all in one place.

It’s built on top of Git, so it supports distributed version control, but adds many tools around it to support the entire software development lifecycle (SDLC).
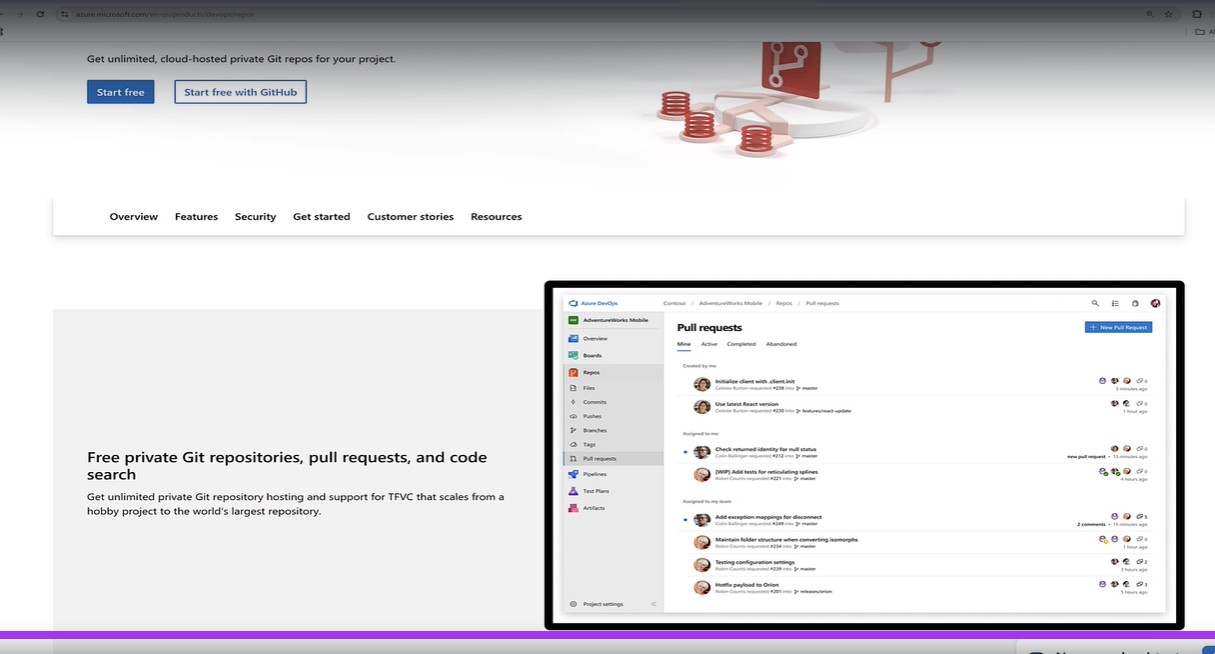

It's for Azure.

Sign in to the got account using the same email as of Azure account. because we do to build CI CD in that later part.

Create a new for account if it is not there and create the repository inside the git hub .


The repository was created and we need the clone URL to connect with Databricks to this repo.


How to link GitHub to Azure account .

Click the user icon, then under the workspace admin and user click the linked accounts.


under the Git hub provide rclik Github and then click link button.


It following window appears to authorize the  databricks to connect .


after clicking authorize the its shows the message as link was succesfull.


To verify, go under linked accounts, we can see the GitHub account there.

Navigate to the Workspace section and go to your Home folder. Under the folder structure, click on the Repos tab.

You will see the email address associated with the Azure or GitHub account used for integration. Click on that account.

In the top-right corner, click the "Create Git Folder (Recommended)" button. This will create a Git-enabled folder linked to your repository, allowing you to version control your notebooks and collaborate more effectively.


Give the URL of the repository, and give the name and click create git folder to create the folder in the  repo.


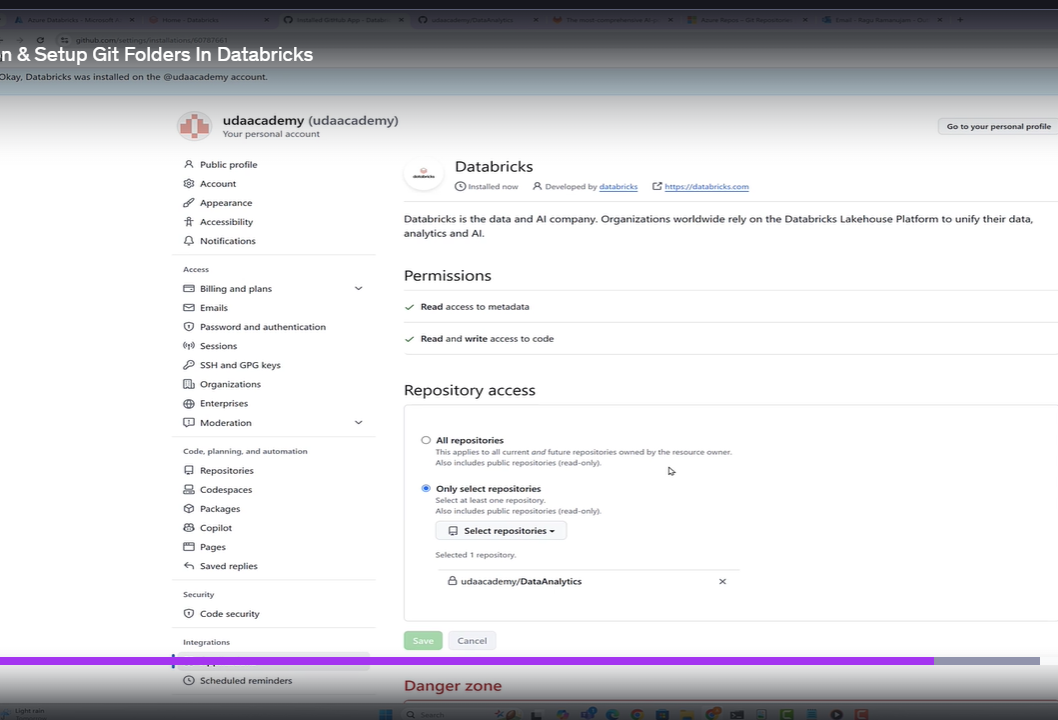
If we find any issues ,  click  on the confire git option its takes you to the next git hub page select the particular repo and click install databricks and then go side and give access to the repository.


then come back to the databricks and try to create the goit folder again then we can able to create the git folder .


we have create Git repository folder .


And we can see the folder was created along with the main branch. click on the main branch .

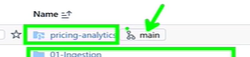
Over there we can be able to create a new branch under the main branch.


We can see the new branch name near the git folder. Click on that branch, and we will be able to start writing the code as a new by selecting the notebook option inside the branch.


"Usually, the main branch contains the production-ready code, while development or collaborative work is done in separate feature or collaborative branches. These branches are later merged into the main branch after review and testing."


"You can copy the existing code by cloning the folder — simply click the three-dot menu (⋮) next to the folder you want to clone, and select the appropriate clone or copy option."


We just created the notebook under the branch in the databricks, now we have to push the folder into the git repository.


Go to the Git folder and add commit messages and click commit, and push.


Then go to GitHub, there we can either push it via the pull request tab or go inside the branch where the commit was made, where we can see the option compare and pull.


no we have to merge or push the code to the collaborative branch , in here for example we are using main branch 

again create the file inside the main branch 


Steps for Merging Code into a Collaborative Branch

  1. Switch to the Collaborative Branch:

    bash
    git checkout collaborative-branch

    Make sure you’re on the branch where collaboration is happening.

  2. Pull the Latest Changes (Optional but Recommended):

    bash
    git pull origin collaborative-branch

    Ensures your local branch is up to date before merging.

  3. Merge Your Feature or Working Branch:

    bash
    git merge feature-branch-name

    This merges the changes from your feature branch into the collaborative branch.

  4. Resolve Any Merge Conflicts (If Any):

    If Git reports conflicts, you'll need to manually edit the conflicting files, then:

    bash
    git add . git commit
  5. Push the Updated Collaborative Branch:

    bash
    git push origin collaborative-branch

    Pushes the merged changes to the remote repository so other team members can see them.


📝 Example Use Case:

Let’s say multiple developers are working on the same project:

  • Each developer works on a separate feature branch.

  • They regularly merge their changes into a shared collaborative branch (like dev or qa).

  • Once stable, the collaborative branch is merged into main for release.


Comments

Popular posts from this blog

Session 18 monitering and logging - Azure Monitor , Log analytics , and job notification

 After developing the code, we deploy it into the production environment. To monitor and logging the jobs run in the real time systems in azure  we have scheduled the jobs under the workflow , we haven't created any monitoring or any matrics . After a few times, the job failed, but we don't know because we haven't set up any monitoring, and every time we can't navigate to workspace-> workflows, under runs to see to check whether the job has been successfully running or not and in real time there will be nearly 100 jobs or more jobs to run  In real time, the production support team will monitor the process. Under the workflow, there is an option called Job notification. After setting the job notification, we can set a notification to email . if we click the date and time its takes us to the notebook which is scheduled there we can able to see the error where it happens . order to see more details, we need to under Spark tab, where we have the option to view logs ( tha...

ingestion of data from the database

There are two ways to read the data from the database , which we decides depending upon the data sources. 1. ODBC You're using ODBC to ingest data into a pipeline, you generally need the following information 1. ODBC Connection String    connection_string = ( "Driver={ODBC Driver 17 for SQL Server};" "Server=my_server.database.windows.net;" "Database=my_database;" "UID=my_user;" "PWD=my_password;" ) Key components of a connection string often include: Driver : The name of the specific ODBC driver installed on the system (e.g., {ODBC Driver 17 for SQL Server} , {PostgreSQL Unicode} , {MySQL ODBC 8.0 Unicode Driver} ). Server (or Host ): The hostname or IP address of the database server. Port : The port number on which the database server is listening (if not default). Database (or Initial Catalog ): The name of the specific database you want to connect to within the server. UID (User ID): The usernam...